

The third Avatar in the Dashavatar series is the Varaha Avatar. In this Avatar , Lord Vishnu takes the form of a Varaha( Boar) to kill the demon Hiranyaksha. After Pralaya , at the beginning of the new Kalpa , Mother Earth was tossed about on the waves and was captured by the demon and prisioned in the bottom of the ocean. At that time Lord Vishnu took the form of a boar. He then released the Mother Earth by lifting her out of the flood waters and killed the demon Hiranyaksha, The Varaha was the only form through which the demon could have been killed because of the boon given by Lord Brahma.
In this post I am showing you how to make this quilling doll.
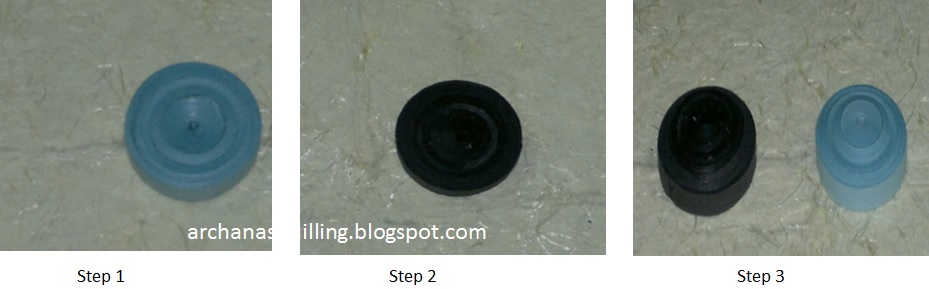
Face ( Step 1 - 6 ):
The face is divided into two parts.
Front part ( Step 1 - 3 ) :
This is the mouth which is in the shape of a boar with horns.
For this you need to make two coils and stick them one above the other. ( Here I have used yellow color quilling strip ).
For the first coil I have attached 6 quilling strips of 5 mm dimension. Make a tight coil , then make a cone.
For the second coil I have attached 4 quilling strips of 5 mm dimension. Make a tight coil , then make a cone.

Back part ( Step 4 - 6 ):
Attach 4 black color quilling strips of 5 mm dimension. Make a small projection to form the back part of the head. Join the front and the back part .

Horns ( Step 7 ) :
Here I have used 3 mm brown color quilling strips. Take half a strip , make a petal shape . Make two of such shape to form a horn. You need to attach it to the front part of the mouth.
 |
| Step 7 |
Neck ( Step 8 ) :
Attach 3 quilling strips of 5 mm dimension. Make a tight coil.

Body ( Step 9 - 11 ) :
Take a 10 mm quilling strip of a light color. Attach 5 quilling strips and make a tight coil. Make 3 such coils and attach one above the other. Attach the neck to the body.

Hands ( Step 12 ) :
Take a yellow color 5 mm quilling strip and make a loose coil. Fold on two sides to give it a rectangle shape. Bend it a little and the hands are ready. Make two hands. For making the other two hands of the Lord along with the Shankhu and Chakra please refer to the earlier Dashavatar posts.

Dhoti ( Step 13 and Step 14 ) :
Take a 10 mm quilling strip of brown color. Attach two strips and make a tight coil. Make a cone, make two such cones and attach them adjacent to each other. You can give a border to make it look attractive.

Legs and Feet ( Step 15-19 ):
Take a 10 mm yellow color quilling strip . Take a 1/4 th of a quilling strip and make a tight coil. Make two such coils which will act as legs for the Lord.
Take a 5 mm yellow color quilling strip. Roll it and make a triangle shape. Make two such coils . This will make the feet of the Lord. Attach the legs of the Lord to the body . You can also but a beautiful border for the waist using a gold color border.

Earth ( Step 20 - 22 ) :
I have used 5 mm quilling strip. Attach 4 quilling strips of two colours ( green and blue ) in an alternate pattern. Make a tight coil and form a small cone shape. Make two such cones and attach both of them.

Crown ( Step 23 ):
I have attached two color quilling strips( Gold and blue ) and made a tight coil. Make a cone and decorate using kundan to complete the crown.

Attach the crown to the head . Attach all the body parts. Draw the eyes and the quilling doll is ready.

Once
your quilling doll is ready , you can decorate the idol by putting a
bead chain to the neck of the God. You can also stick kundan in the
middle . Arrange the dasara dolls during the navarathri festival. It
will look very beautiful. I hope you liked my creativity of making this
doll. Please share your views on this. Please watch this space for more
in the Dashavatar series.
Click below to see any avatar :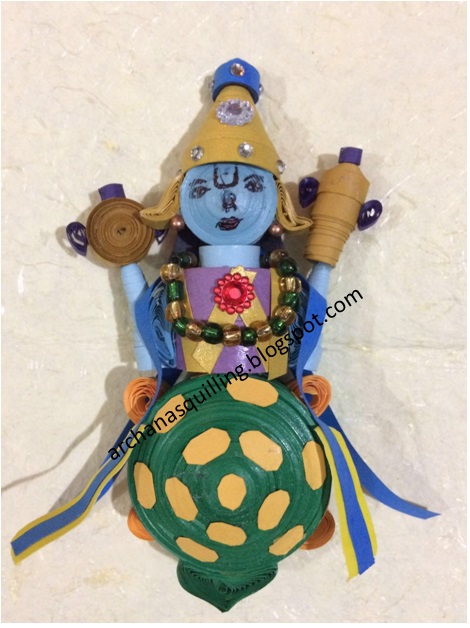


