|
| Parashurama Avatar |
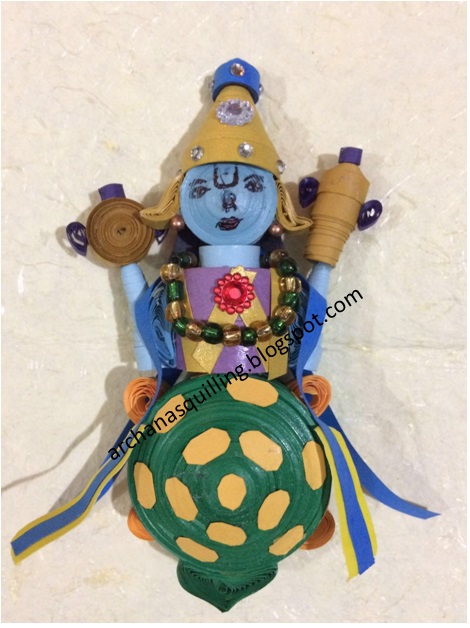
The sixth Avatar in the Dashavatar series is the Parashurama Avatar. Parashurama was born to the sage couple Jamadagni and Renuka. Parashurama , a Brahmin , recieved his famous axe from Lord Shiva . Parashurama is most known for raiding the world of kshatriyas twenty - one times over , after the king Kartavirya Arjuna killed his father.
In this post I am showing you how to make this quilling doll.
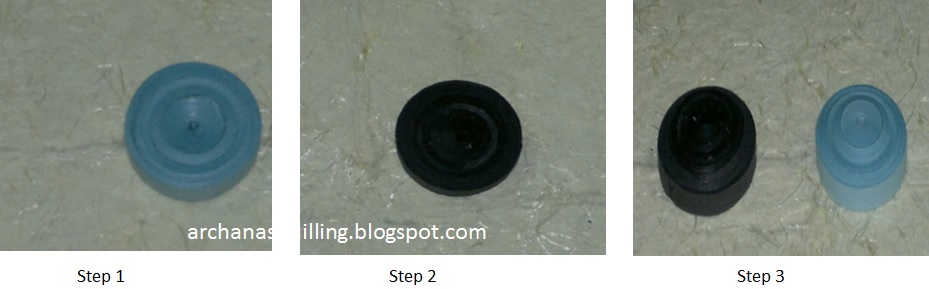
Face ( Step 1 to Step 3 ):
- I have used 5 mm quilling strips. For the front part of the face I have used 5 strips of skin color.
- Attach 5 quilling strips and make a tight coil. Slightly make a cone.
- For the back part of the face I have used black color . Make a tight coil using 5 strips.
- Attach these two parts and complete the face by drawing the eyes , nose and mouth.

For this I have used 5 mm black color quilling strip. Make the first cone using 5 quilling strips. Make the second cone using 3 quilling strips. Make the third cone using 1 quilling strip. Stick them one on top of the other. Make the hairs and beard by cutting the black quilling strips into small fringes. Stick the hairs to the face of the Lord.

Neck ( Step 8 ) :
Make a tight coil using three skin color 5 mm quilling strips.
Body ( Step 9 - 11 ):
For this I have used 10 mm quilling strips. Make a a tight coil using 4 quilling strips of skin color. Make three such coils. Attach the one above the other. Attach the neck to the body.

Legs and Hands ( Step 12 ):
For making the dhoti , legs , feet and hands please refer to the earlier dashavatar posts. ( Click here )
Robe ( Step 13 ) :
Make the robe as shown in the picture. Wrap it around the body of the Doll.
Axe ( Step 14 -16 ) :
Make the shape shown here using three quilling strips of grey color ( 5 mm ). Make a stick and attach them both. Stick it to the hand.

Stick all the body parts and complete the doll.The complete doll will look like this:

 |
| Step 8 |
Body ( Step 9 - 11 ):
For this I have used 10 mm quilling strips. Make a a tight coil using 4 quilling strips of skin color. Make three such coils. Attach the one above the other. Attach the neck to the body.

Legs and Hands ( Step 12 ):
For making the dhoti , legs , feet and hands please refer to the earlier dashavatar posts. ( Click here )
 |
| Step 12 |
Robe ( Step 13 ) :
Make the robe as shown in the picture. Wrap it around the body of the Doll.
 |
| Step 13 |
Axe ( Step 14 -16 ) :
Make the shape shown here using three quilling strips of grey color ( 5 mm ). Make a stick and attach them both. Stick it to the hand.

Stick all the body parts and complete the doll.The complete doll will look like this:
Arrange the dasara dolls during the navarathri festival. It
will look very beautiful. I hope you liked my creativity of making this
doll. Please share your views on this. Please watch this space for more
in the Dashavatar series.
Click below to see any avatar :